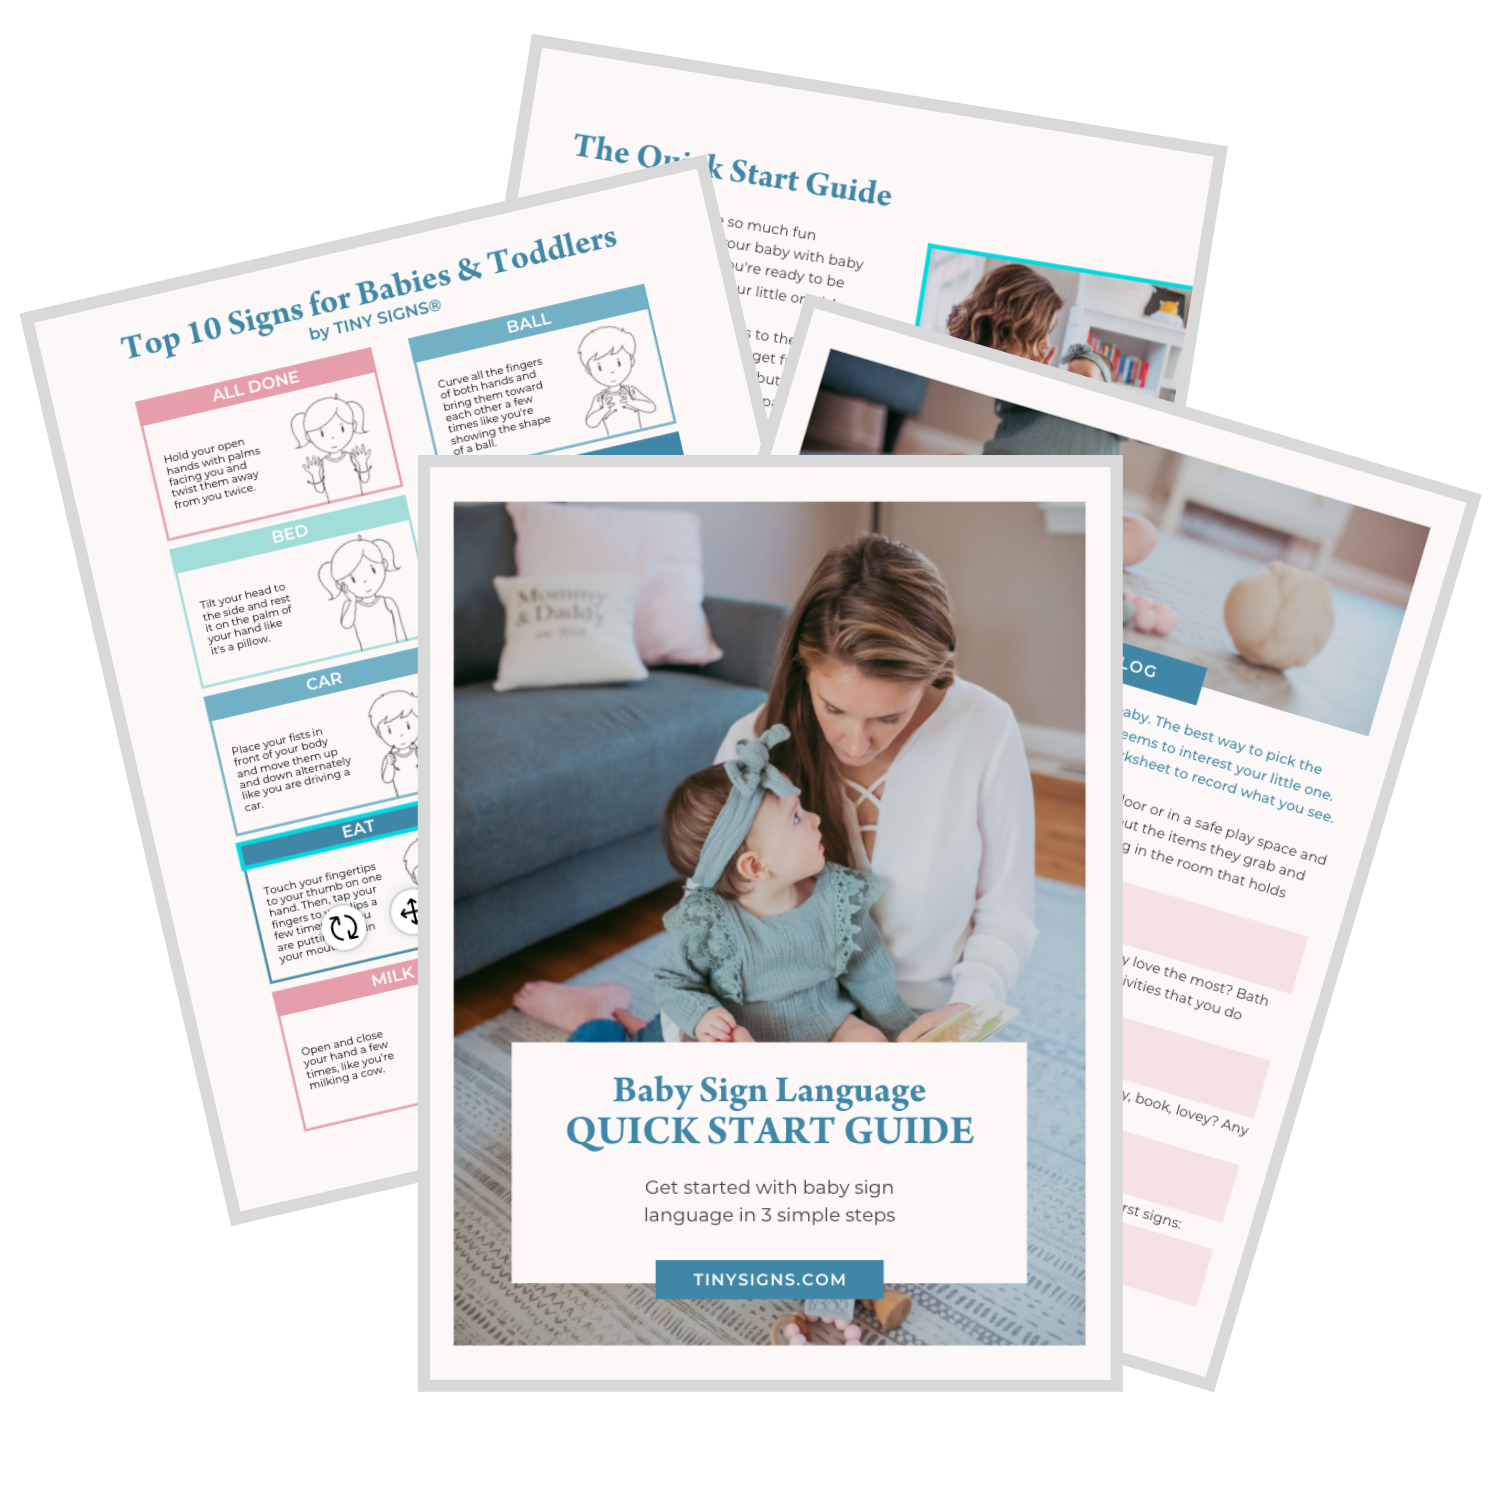
The following baby sign language tips are just what you need to start signing with confidence! This is Baby Sign Language Lesson #3 in the How to Teach Your Baby Sign Language Series.

But… how!?
Parents often ask me…
Do I just start doing the sign all the time? My baby doesn’t seem interested – how do I get him to look at me? Do I have to do the sign every time I say the word? What if I forget?
It might feel like a lot to take on during an already extremely hectic time in life. You might even start to wonder, “Is it even worth the effort?”
Believe me, as a busy mom myself, I get it!
But armed with some good advice and a solid plan, you’ll find that signing with your baby is actually fun and easy (not to mention totally worth it).
I’ve put together the following baby sign language tips to help make it as easy as possible for you!
Baby Sign Language Tips
Tip #1 – Choose signs based on your baby’s interests
Parents often pick practical signs when starting with baby sign language: milk, sleep, diaper, etc. This is totally understandable! Of course we want our babies to communicate these things to us – it would make life soooo much easier!
But I’m going to let you in on a little secret: parents who pick signs based on their baby’s interests have much higher success with signing! LIGHT and FAN are just two examples of items your baby sees often that are very interesting to them and therefore very motivating. What are some things your baby seems interested in? Do you have a dog, a cat, or a fish tank? A ceiling fan in the living room, or a mobile over the changing table? Think about what might interest your baby, and if that might be a possible first sign to learn.
Learn more about picking basic baby sign language signs to get started
Tip #2 – Start with a Handful of Signs
If you’re just starting out, you might be wondering how many signs to use at first. I recommend starting with a handful (4 is a good number). This will give you a nice variety without being overwhelming. You’ll want to use those 4 starter signs each day, if possible.
If you start with LOTS of signs, it can be hard to use all of them consistently so you might end up using some of them on one day, and other ones the next, which is not a great strategy. When you’re first getting started, start with 4 and stick with them. Use them as consistently as possible. Add more when your baby starts signing back, or when you’ve really got the hang of it and are eager to add more signs into your daily routine.
If your baby is already signing, don’t hold back! Introduce as many new signs as you are able (a few more each week) and watch how quickly they pick them up. When your baby’s signing really takes off, they might be picking up new ones every day!
Look up signs in the free baby sign language video dictionary
Tip #3 – Always sign & say the word together
This tip is a simple but important one. You want to always say and sign the word together. “Baby sign language” isn’t a formal language – it’s just what we call it when we pair sign language (American Sign Language or ASL on this site) with a spoken language (English and/or other languages). And because the ultimate goal when signing with hearing children is to facilitate and encourage speech development, it’s important to always say the word each time you sign it for reinforcement.
Tip #4 – Always sign in context
When you’re first introducing a new sign, always use it in context. Sign “milk” when your baby is feeding, sign “ball” when you or your baby is holding a ball. Sign “dog” when the dog is visible in the room, and so on. Signing in context will help your baby make the connection between the sign, word & object more quickly.
Once baby establishes the meaning of a particular sign/word, you can use the sign any time!
Tip #5 – Sign in your baby’s line of vision
You might find that it can be tricky to get your baby to look at you when you’re trying to show them a new sign! When introducing a new sign, you want to put yourself (and especially your hands) into your baby’s line of sight. One little trick you can try to is to make an interesting sound to get your baby to look at you. For example, if you baby is looking at a car, you can say “beep beep! vroom vroom!” which will likely make your baby turn to look at you. Once your baby’s looking at you, say and sign CAR before they turn away again. Voila!
Tip #6 – Have fun!
If you want to succeed in signing with your baby, the absolute BEST thing you can do is make it fun. Signing should be playful and silly – never a chore. If you’re feeling tired & grumpy, or your baby’s having an “off” day, skip the signing and try again when you’re both feeling better. When signing is incorporated into play time, story time and songs, your baby will be eager to get in on the action. So don’t be shy! Let your inner goofball out and have a blast!
Conclusion
Baby sign language is fun and easy when you feel confident that your efforts will pay off. Following the practical tips above will avoid confusion and help your baby get the hang of signing quickly!


